
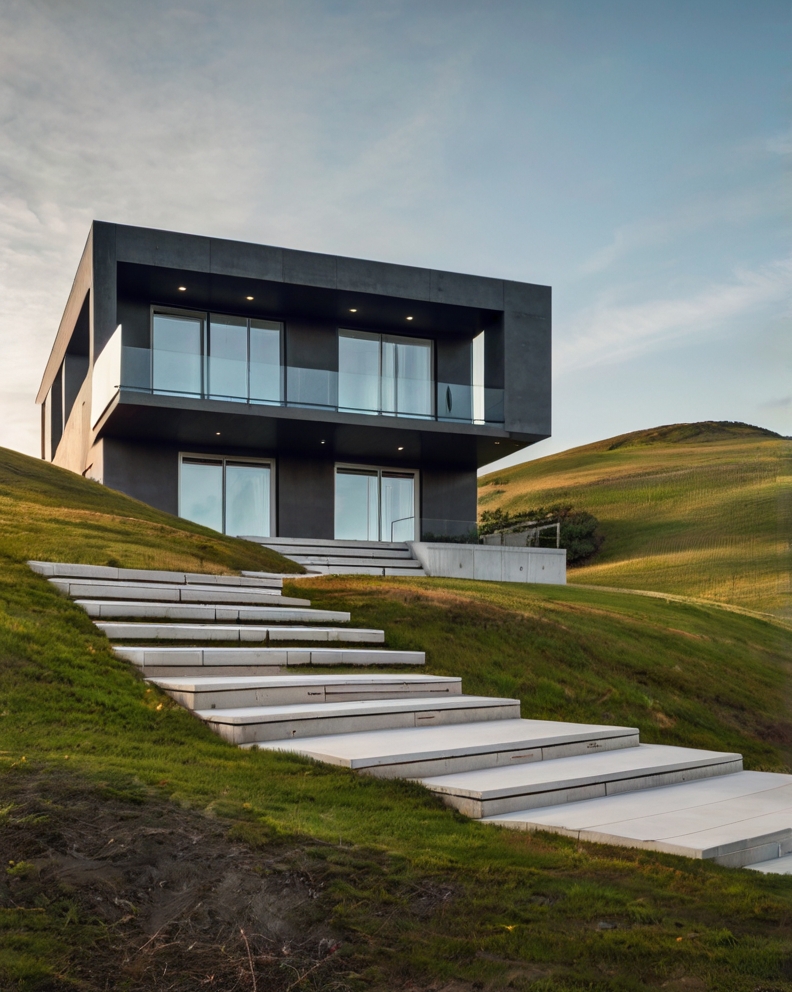
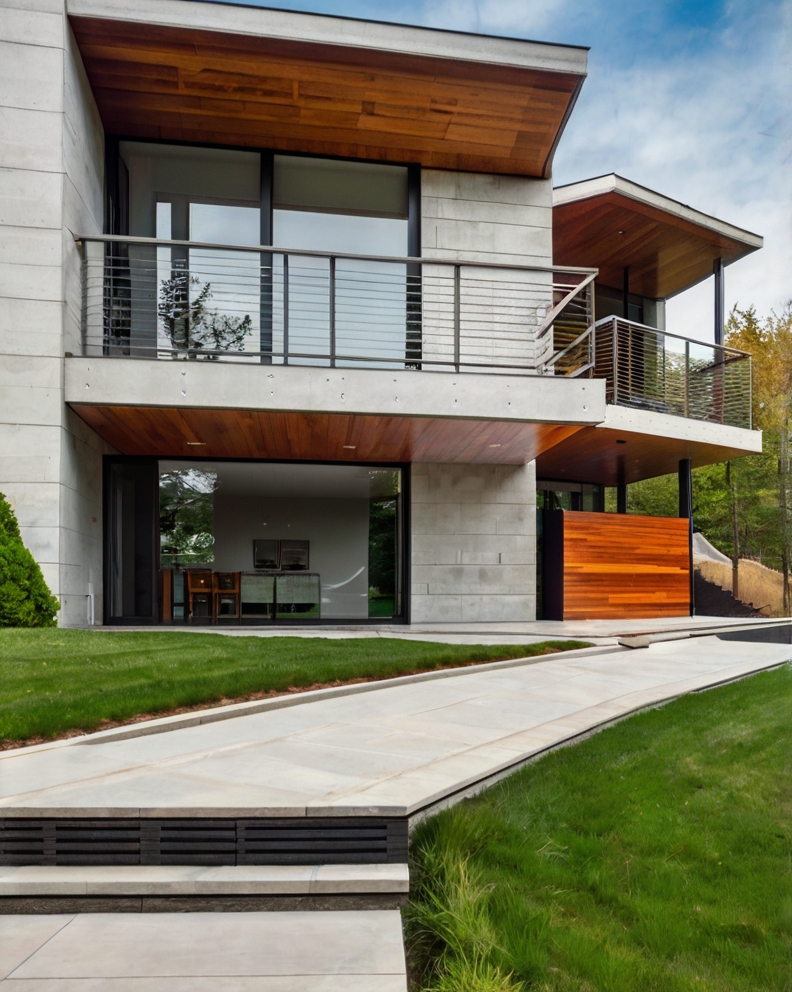
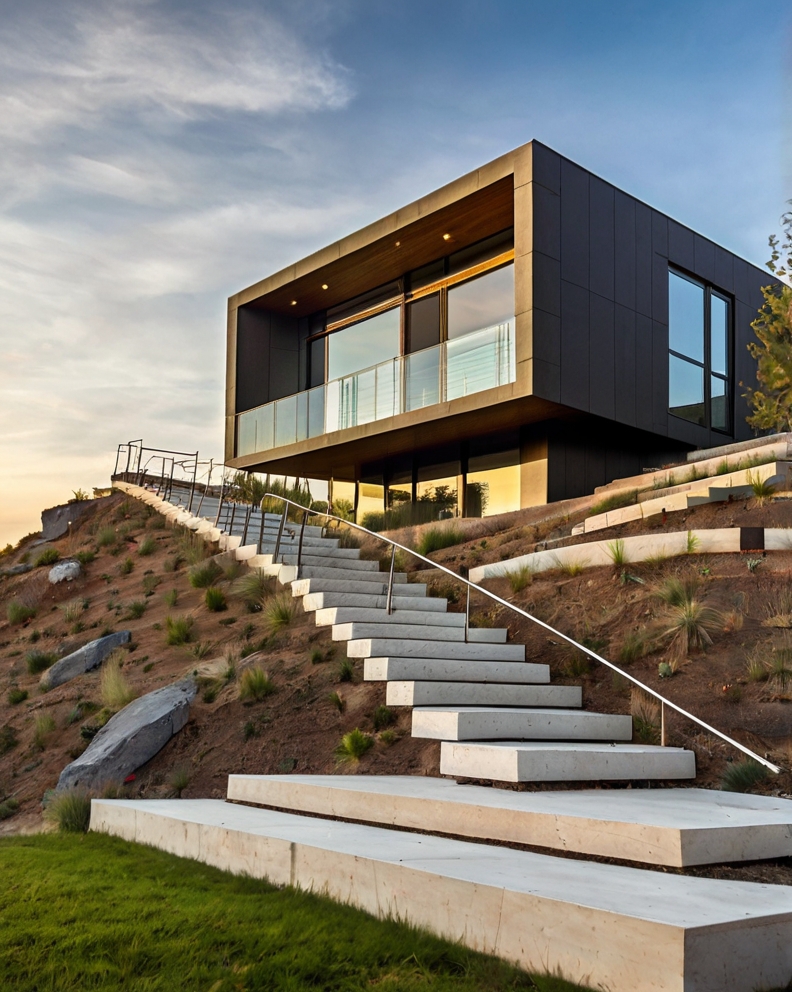
Build Steps on a Hill – Does a daunting slope disrupt the flow of your backyard, or block access to a scenic viewpoint?
Fear not! Building sturdy and attractive steps on a hill is a manageable project that can significantly improve your property’s functionality and beauty.
Here’s a breakdown of the key steps involved:
Planning and designing steps on a hill takes thoughtful consideration to ensure the stairs are safe, functional, and visually appealing. Here’s a step-by-step guide to help you plan and design the perfect hillside steps:
🛠️ Planning and Design for Building Steps on a Hill
1. Assess the Slope
- Measure the Rise and Run: Determine the total vertical height (rise) and horizontal distance (run) of the slope.
- Use a string level, laser level, or transit level to get accurate measurements.
- Helps estimate how many steps and landings you’ll need.
Example: A 6-foot rise with standard 6-inch steps would require 12 steps.
2. Decide on Step Dimensions
- Tread (depth): 10–16 inches (comfortable to walk on)
- Riser (height): 4–7 inches (6 inches is common for outdoor stairs)
- Width: At least 36 inches wide for a single user; go wider for garden or front yard steps.
3. Choose a Material
Each material has its pros and fits a different style:
- Natural Stone – Durable, rustic, blends with landscape
- Concrete – Modern, customizable, strong
- Wood (treated timber) – Warm look, budget-friendly but needs maintenance
- Brick or Pavers – Classic, slip-resistant when installed properly
- Railroad Ties – Rustic and affordable, but heavy and can rot over time
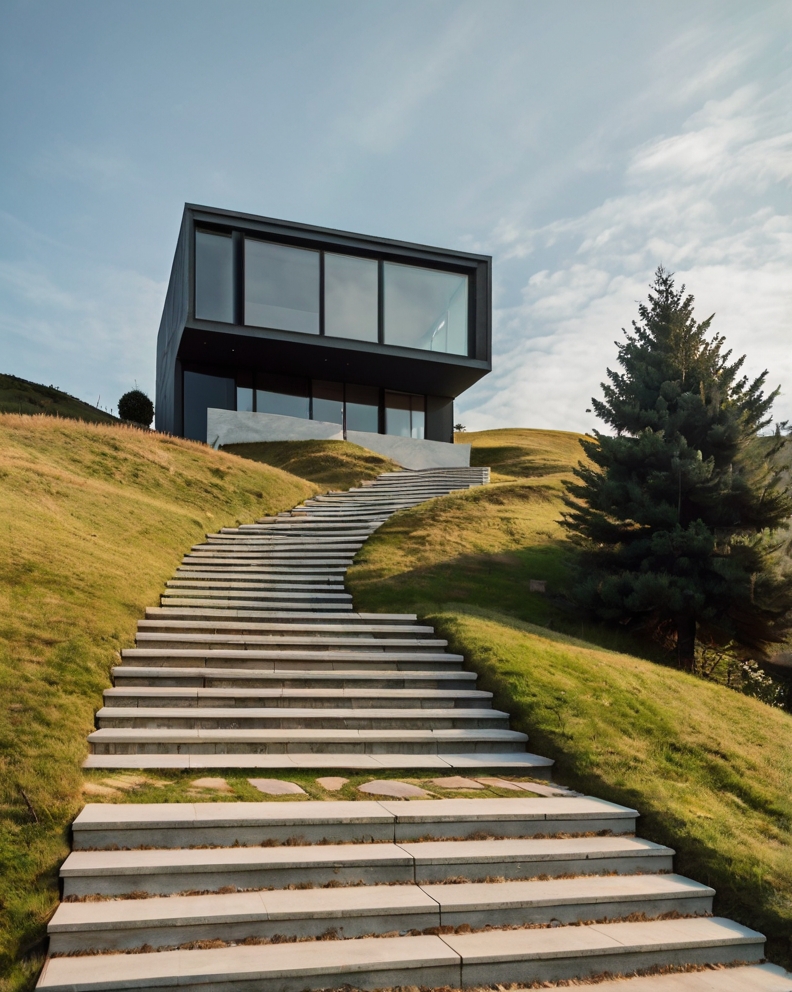
4. Design Landings and Turns
- For longer slopes, break steps with landings every 6–8 steps for comfort and safety.
- Use switchbacks or zigzag patterns on steep hills to make stairs more gradual and reduce erosion.
5. Plan for Drainage
- Install a drainage system (gravel base, perforated pipe, or French drain) to prevent water pooling or erosion.
- Slight slope on each tread for water runoff (about 1–2% grade).
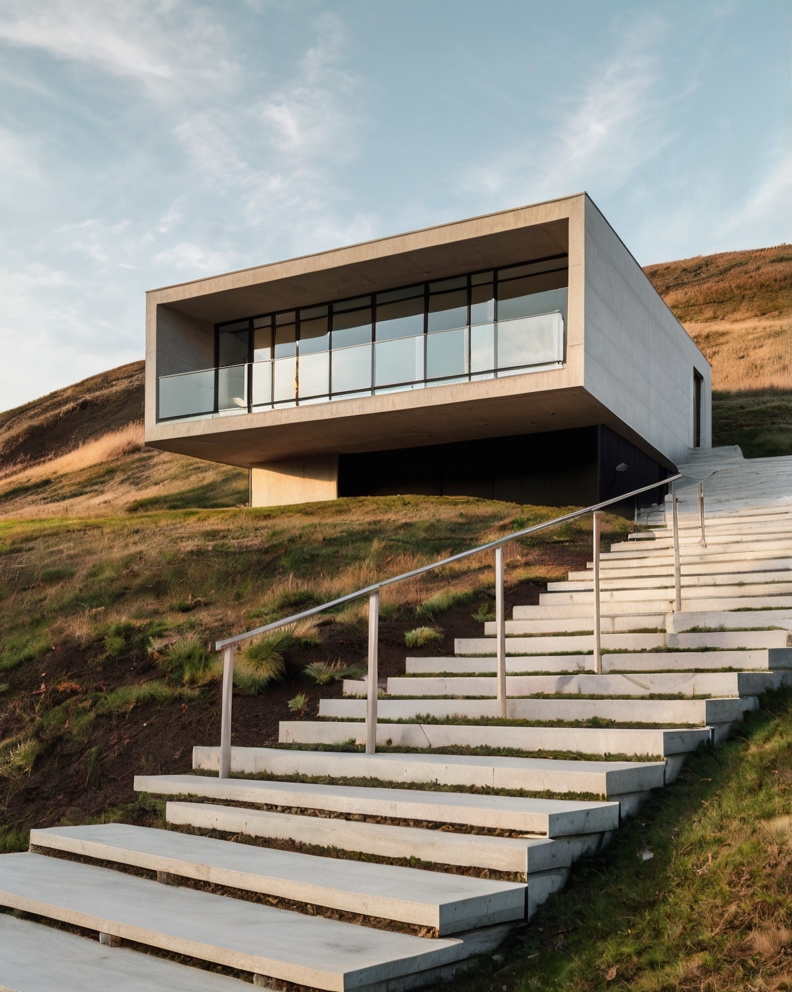
6. Safety Features
- Handrails: Essential on steep hills or high stairs.
- Edge lighting: Great for nighttime visibility.
- Non-slip surfaces: Especially important if the steps are stone or wood.
- Retaining Walls: If soil is loose or steep, walls may be needed to support the steps and hillside.
7. Blend with Landscaping
- Use steps to connect garden zones, patios, or walkways.
- Add plants, rocks, or lighting alongside to integrate the stairs into the natural look of the hill.
8. Check Local Codes and Permits
- Some areas require permits or inspections for outdoor steps, especially if retaining walls or significant excavation is involved.
📏 Sample Calculation (for DIY idea)
Let’s say your hill has:
- Rise: 60 inches
- Preferred riser height: 6 inches
= 10 steps
If you want 14″ treads:
- Total run = 10 x 14″ = 140 inches (approx. 11.6 feet)
This gives you a nice slope and space to work with.
Read also:
1. How to Lay Paving Slabs on a Slope – Simple (DIY) Tutorial
2. How to Lay Paving Stones in Easy Steps
3. How to Lay Patio Pavers on Dirt : Easy DIY Project at Home
Preparing the groundwork is one of the most critical phases when building steps on a hill. It sets the stage for durability, safety, and appearance. Here’s a clear and complete guide to help you get started the right way:
🛠️ Preparing the Groundwork for Building Steps on a Hill
1. Mark the Stair Layout
- Use stakes, string lines, or spray paint to outline where your steps will go.
- Include risers, treads, and landings if needed.
- Use a level or laser level to ensure accuracy.
💡 Tip: Mark each individual step or section to help visualize the slope and prevent mistakes during digging.
2. Calculate Step Dimensions
- Based on your total rise and run, calculate:
- Riser height (typically 6–7 inches)
- Tread depth (typically 10–16 inches)
- Divide the total rise by your riser height to find out how many steps you need.
3. Excavate the Slope
- Start digging from the bottom of the hill upward for better footing and safety.
- Excavate each step area:
- Depth for the tread (plus base material)
- Vertical face for the riser
- Create flat, level platforms for each step, using a tamper to compact the soil.
🧱 Depth Example:
For stone or paver steps, dig 6–8 inches deeper than the height of your step to accommodate base material.
4. Lay a Solid Base
This step ensures the stairs won’t shift, sag, or erode.
- Add 4–6 inches of gravel or crushed stone for drainage.
- Compact it tightly with a hand tamper or plate compactor.
- On top of gravel, you may also need a sand layer (1 inch) if using pavers or bricks.
5. Install Edge Support (Optional but Strongly Recommended)
To keep steps from sliding or shifting:
- Use landscape edging, timber framing, or retaining blocks along the edges of each step.
- For steeper slopes, use retaining walls to support the hillside.
6. Check Drainage
Ensure the slope or steps don’t channel water where it shouldn’t go:
- Slightly tilt each tread forward (1–2% grade) for water runoff.
- Consider a French drain behind retaining walls.
- Add perforated pipes if your hill has poor drainage.
7. Set String Lines for Reference
- Use string lines at multiple heights as a guide while you build up the steps.
- This keeps everything aligned, especially for long runs of stairs.
8. Gather Tools & Materials
Before you build, ensure you have:
- Shovel, pickaxe, level
- Tamper or plate compactor
- Landscape fabric (to prevent weeds)
- Crushed gravel and sand (for base layers)
- Edging or riser material (stone, timber, concrete, etc.)
✅ Ready for Construction?
Once the groundwork is:
- Marked ✅
- Dug and leveled ✅
- Base laid and compacted ✅
…you’re ready to start installing risers and laying treads.

Now that your groundwork is prepped, let’s get into the main event: building the steps on the hill! Below is a detailed, step-by-step guide for constructing sturdy, long-lasting steps, no matter the material.
🧱 Building the Steps on a Hill
🔨 Tools & Materials You’ll Likely Need:
- Level
- Rubber mallet or hammer
- Shovel
- Tape measure
- Hand tamper or plate compactor
- Landscape adhesive (if using stone or block)
- Mason’s line (for alignment)
- Materials: Stone, timber, concrete blocks, or pavers
🪜 Step-by-Step Building Process
1. Start from the Bottom
- Begin with the lowest step and work your way up.
- This provides a strong foundation for each level above.
2. Set the Riser (Front Face of Each Step)
Depending on your material:
🔹 Stone or Concrete Block:
- Place the first riser block on the compacted gravel base.
- Use a level to ensure it’s even side-to-side and front-to-back.
- Tap gently with a mallet to set it into place.
🔹 Timber (like railroad ties):
- Secure the timber using rebar stakes or long spikes driven into the ground.
- Cut timbers to fit if needed.
TIP: Use landscaping adhesive between stacked blocks or stones for extra stability.
3. Backfill Behind the Riser
- Fill behind the riser with compacted gravel or crushed stone.
- Level and compact it well — this is the tread base for walking.
4. Lay the Tread (Flat Surface of the Step)
- Spread a 1″ layer of bedding sand (optional depending on material).
- Lay the tread material on top (stone, pavers, timber, etc.).
- Use a level to ensure it’s slightly pitched forward (1–2%) to allow water runoff.
5. Repeat for Each Step Up
- Continue setting risers and treads up the hill, step by step.
- Keep checking alignment using a mason’s line or level.
- Be sure each step lines up consistently in height and depth.
6. Secure and Reinforce
- Use landscaping adhesive or construction glue where necessary.
- For steep hills, reinforce with short retaining walls or stakes on the sides of each step to hold back soil.
7. Add Handrails or Side Supports (Optional)
- If steps are tall or steep, handrails increase safety.
- Install posts in concrete or with post anchors alongside the steps.
- Use treated wood, steel, or rope depending on style and material.
8. Finishing Touches
- Backfill gaps with soil, gravel, or mulch.
- Add decorative touches like:
- Solar or low-voltage lighting
- Plants or ground cover
- Gravel or stone edging
📌 Example: Timber Steps on a Steep Hill
- Riser: 6×6 treated timber
- Tread: 12 inches depth, filled with compacted gravel
- Spikes or rebar secure timbers in place
- Steps are spaced every 6 inches of rise, going up the slope with a zigzag for aesthetics and ease
🧼 Maintenance Tips
- Keep treads free of debris, moss, or algae (to prevent slipping)
- Re-level loose treads over time
- Reseal wood steps every 1–2 years
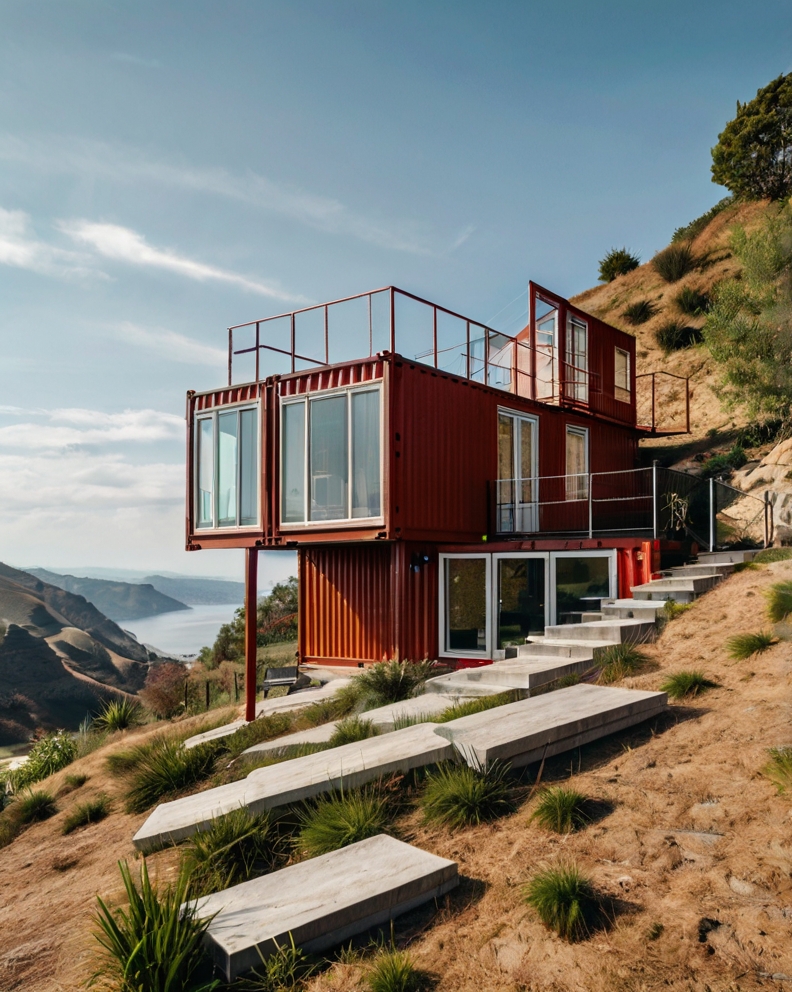
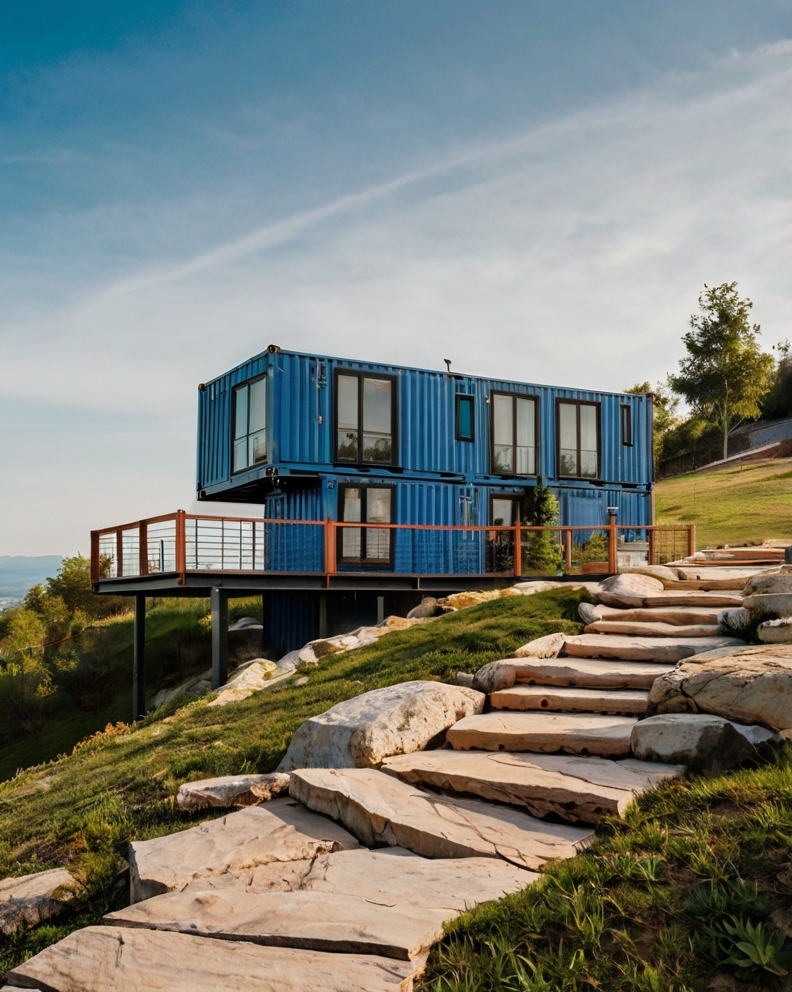
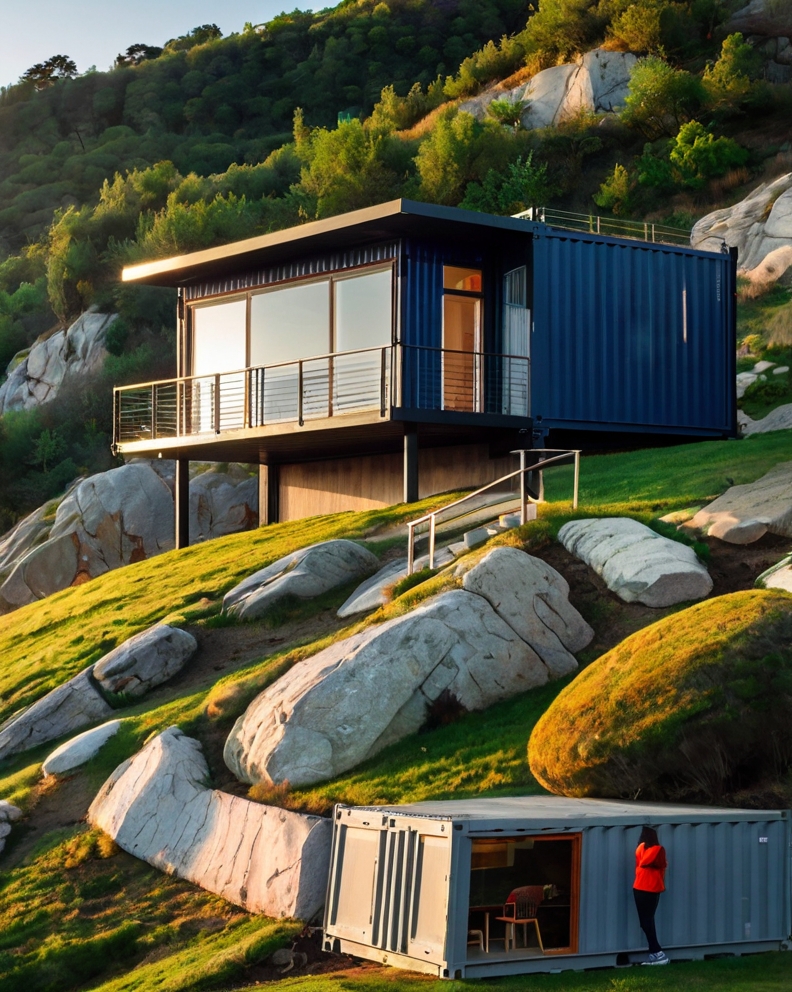
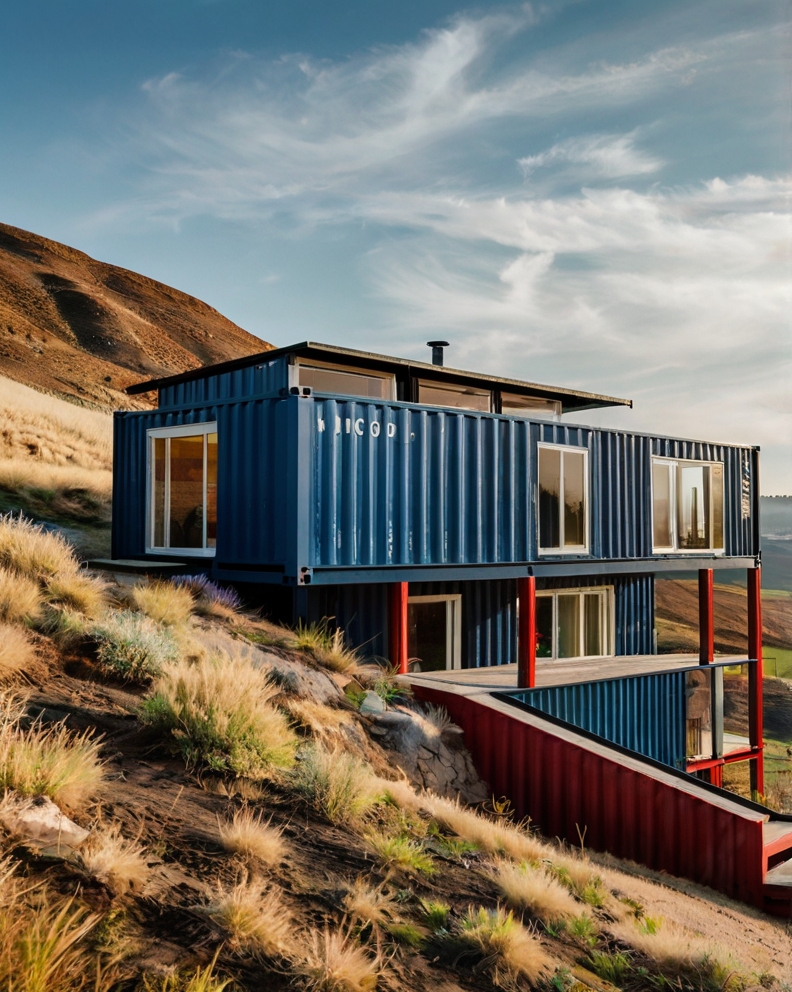
Read also: 53 Cozy Container House Ideas For The Simplicity of Lifestyle

Read also:
1. 101 Wood Coffee Table Ideas: Modern Style & Timeless Appeal
2. 149 Tropical Backyard Landscape Ideas: Creating Your Own Paradise
3. 42 Sloped front yard ideas on a budget | Inspira Building
Now let’s bring your hillside steps to life with those finishing touches that make all the difference in both appearance and durability. These final steps will boost your project’s curb appeal, safety, and longevity.
🎨 Finishing Touches for Building Steps on a Hill
1. Secure Edging and Sides
- Add edging stones, timber borders, or low retaining walls to:
- Hold soil back from the sides
- Keep gravel or mulch in place
- Define the path visually
💡 Especially important on sloped ground to prevent erosion and shifting.
2. Fill Gaps and Joints
- Fill gaps between pavers, stones, or timbers with:
- Sand (for pavers)
- Crushed gravel (for drainage)
- Mortar (for permanent stonework)
Avoid leaving loose soil—it will wash out in rain.
3. Landscaping Around the Steps
- Use plants and mulch to soften the edges:
- Ground covers like creeping thyme or mondo grass
- Ornamental grasses or ferns on shady slopes
- Mulch or rock beds to reduce erosion
🌿 Bonus: Plants also help anchor soil and make the area more inviting.
4. Add Lighting
For safety and beauty at night:
- Solar lights: Simple, wireless, eco-friendly
- Low-voltage LED step lights: Great for a more permanent solution
- Rope lighting: Can be tucked under stair edges
✨ Lights not only increase visibility, but also highlight your steps’ design.
5. Install Handrails (If Needed)
- A handrail is recommended if:
- The slope is steep
- There are more than 3–4 steps
- Children or older adults use the path
Use metal posts, timber posts, or cable rail systems depending on your style.
6. Apply Sealants or Stains
If you used:
- Wood: Apply a weatherproof stain/sealer
- Concrete: Use a concrete sealant to resist cracking
- Stone: Consider a natural stone enhancer or sealer (especially for flagstone or slate)
Helps protect from rain, sun, and moss buildup.
7. Clean and Inspect
- Sweep away leftover debris
- Hose down steps (or power wash gently)
- Check alignment and stability one last time
- Top up gravel or sand in joints if needed
8. Decorative Touches (Optional but Stylish)
- Add potted plants on landings or edges
- Place a bench or sitting stone on wider areas
- Incorporate stepping stones beyond the stairs for a smooth transition to paths or patios
✅ Final Checklist Before You Celebrate:
| Task | Complete? ✅ |
|---|---|
| All steps leveled and secure? | |
| Edging installed? | |
| Gaps/joints filled? | |
| Landscaping added? | |
| Lights installed? | |
| Handrails in place (if needed)? | |
| Sealed or protected surface? |
Safety First:
Building steps on a hill involves working with uneven terrain. Always prioritize safety by wearing sturdy shoes and gloves.
For steeper slopes or complex designs, consider consulting a professional landscaper or contractor to ensure structural integrity and code compliance.
With careful planning and execution, you can transform your slope into a beautiful and functional set of steps, enhancing your property’s enjoyment and value.
Building steps on a hill can be a practical and visually appealing way to navigate sloped terrain. However, it comes with both advantages and challenges. Here’s a clear breakdown of the pros and cons of building steps on a hill:
✅ Pros of Building Steps on a Hill
1. Improved Accessibility
- Steps make it easier and safer to climb or descend steep slopes, especially for elderly people or children.
2. Erosion Control
- Properly designed steps can help reduce soil erosion by slowing down water runoff and stabilizing the hillside.
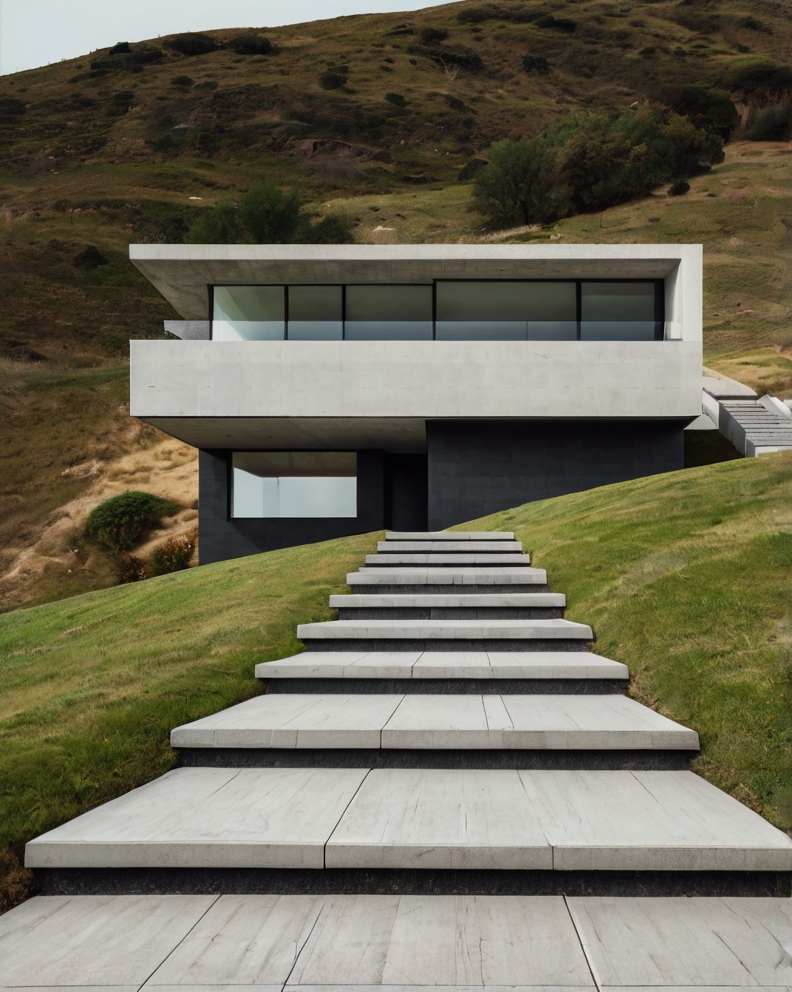
3. Enhanced Aesthetic Appeal
- Well-built steps (using stone, wood, or concrete) can add charm and structure to your landscaping, making the slope a beautiful feature rather than a challenge.
4. Increased Property Value
- A well-landscaped hill with professionally built steps can boost curb appeal and increase the value of your home.
5. Functional Use of Space
- Adding steps makes a sloped area more usable for gardening, seating, or pathways, transforming it into a functional part of your yard.
❌ Cons of Building Steps on a Hill
1. High Construction Cost
- Building steps on uneven terrain often requires excavation, reinforcement, and drainage systems, making it more expensive than flat-ground construction.
2. Complex Design & Engineering
- Hillside steps need careful planning for safety, drainage, and stability—especially on steeper slopes. This often requires professional help.
3. Maintenance Requirements
- Over time, outdoor steps may suffer from wear, shifting soil, weed growth, or rot (especially if made of wood), requiring periodic maintenance.
4. Drainage Issues
- If not designed properly, steps can collect or redirect water in ways that cause erosion or pooling at the bottom.
5. Permit or Zoning Restrictions
- In some areas, building on a slope may require special permits or inspections, which can delay the project and add bureaucracy.