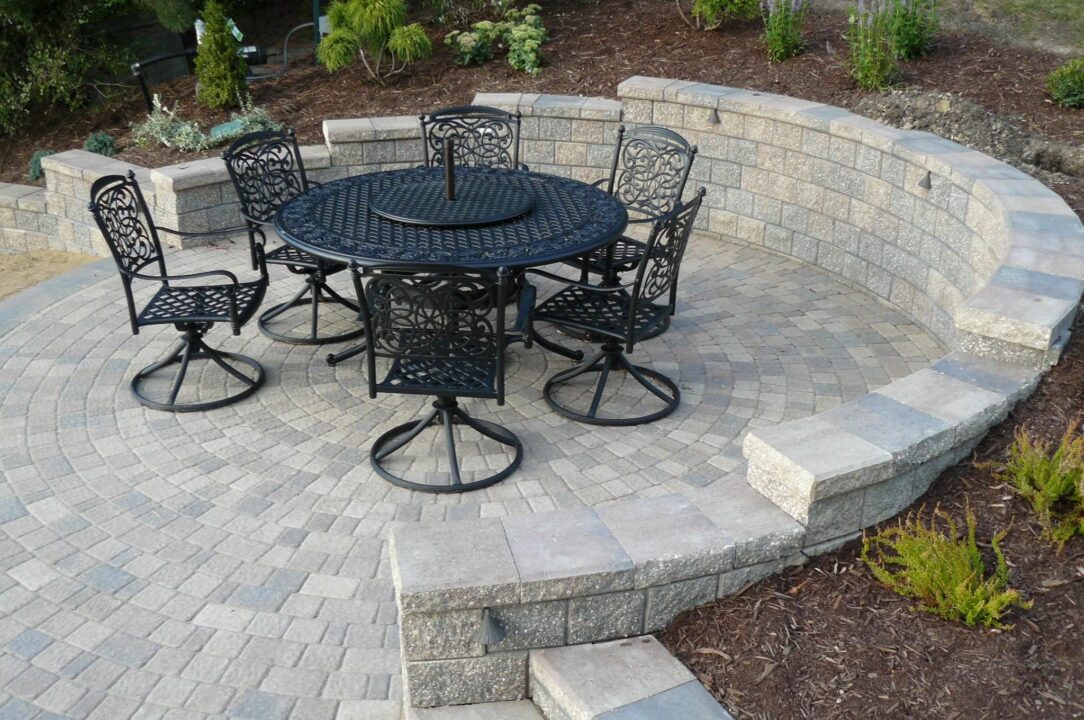
How to lay paving slabs on a slope – If you want to add uniqueness and character to your backyard path,
garden, landscape, or entrance area, then installing paving might be your best bet. It is not really difficult as long as you know the basic technique.
However, installing it on a tilted surface might be more complicated.
Laying paving slabs on a slope can be a great way to create a visually interesting and functional outdoor space. Here’s why it’s a good idea:
- Drainage: A properly sloped surface ensures proper water drainage, preventing pooling and potential damage to the slabs or nearby foundation.
- Visual Appeal: Slopes can add visual dimension to your patio or walkway, especially when combined with different colored slabs or planting designs.
- Increased Usable Space: Incorporating a slope can allow you to utilize a sloped area in your yard and create a more usable patio or walkway.



- Pros and Cons About Lay Paving Slabs on a Slope
- 1. Decide the Slope location
- 2. Get the ground ready
- 3. Set a border – How to Lay Paving Slabs on a Slope
- 4. Spread gravels over the surface
- 5. Lay the pavers
- 6. Spread sand on top of the paving layer
- 7. Clean away the excess dirt
- In Conclusion,
- Frequently Asked Questions (FAQs)
Pros and Cons About Lay Paving Slabs on a Slope
Read more: How to Lay Paving Stone – “Outdoor & Garden Ideas”, Inspira Building
| Pros | Cons |
|---|---|
| 1. Improved Drainage | 1. Erosion Risk |
| Slopes help water to drain away quickly, reducing the risk of pooling and water damage. | The slope can cause erosion over time, which may undermine the paving slabs. |
| 2. Aesthetic Appeal | 2. Complex Installation |
| A well-laid slope can add visual interest and enhance the landscape design. | Laying slabs on a slope requires more skill and precision, increasing labor costs. |
| 3. Accessibility | 3. Safety Concerns |
| Slopes can be necessary for accessibility in certain areas, making them functional for ramps. | Slopes can be slippery, especially in wet conditions, posing a safety risk. |
| 4. Increased Property Value | 4. Stability Issues |
| Properly designed slopes with paving can increase the aesthetic and functional value of a property. | Ensuring stability of the paving slabs can be challenging and may require additional reinforcement. |
| 5. Efficient Use of Space | 5. Higher Maintenance |
| Sloping areas can be effectively utilized, maximizing usable space in a landscape. | More frequent maintenance may be required to prevent shifting and settling. |
| 6. Prevents Flooding | 6. Cost |
| Properly managed slopes can help prevent flooding by directing water away. | The overall cost of materials and labor is typically higher than for flat installations. |
| 7. Natural Look | 7. Requires Professional Help |
| Slopes can provide a more natural, less artificial look to outdoor spaces. | Often requires professional assistance to ensure proper installation and longevity. |
Here is how to lay paving slabs on a slope with only seven easy steps.
1. Decide the Slope location


You have to determine where you want the pathway to be, prior to preparing and working on the sloped area. Mark the walkway’s outline with paint.
Deciding the slope location is a crucial step when planning to lay paving slabs on a slope. Here are three paragraphs elaborating on this aspect:
- Consider the Purpose: Before choosing the slope location, consider the purpose of the paved area. Are you creating a pathway, a patio, or a seating area? Understanding the intended use will help you determine the most suitable slope location.For example, if you’re creating a pathway, you might want to follow the natural flow of foot traffic or connect two different levels of your outdoor space.
By aligning the slope with its purpose, you can ensure functionality and enhance the overall design. - Evaluate the Landscape: Carefully assess the landscape and natural contours of the land when deciding the slope location. Look for existing slopes, gradients, or any potential uneven terrain that can be incorporated into your design.Utilizing the existing topography can help minimize extensive earthwork and ensure a more seamless integration of the paved area.
Additionally, take into account any existing features like trees, plants, or architectural elements that you may want to complement or work around. - Consider Drainage: Proper drainage is essential for a successful paving slab installation on a slope. Assess how water flows in the area and determine the best slope location to facilitate efficient drainage. Ideally, the slope should allow water to naturally run off without pooling or causing erosion.Take note of any potential water sources, such as downspouts or natural water channels, and ensure that the slope aligns with these drainage points.
By carefully considering drainage, you can prevent water-related issues and ensure the longevity of your paved surface.


Taking the time to decide the slope location before laying paving slabs is crucial for achieving a functional and visually appealing result.
By considering the purpose, evaluating the landscape, and prioritizing drainage, you can select the most suitable slope location that complements your outdoor space and ensures the longevity of your paved surface.
Read also: 101 Creative and Stunning Front Yard Corner Lot Landscaping Ideas
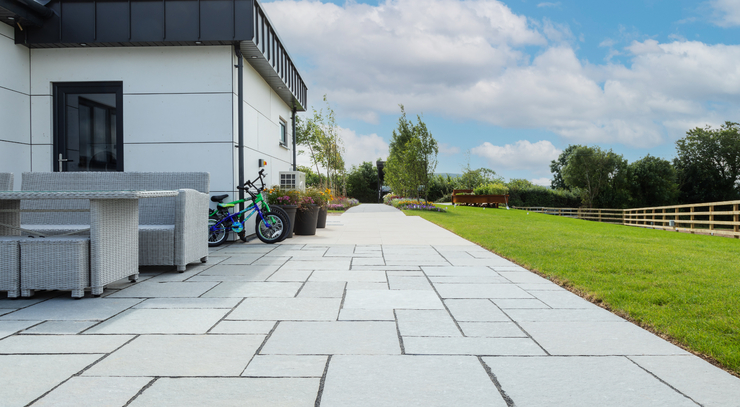
Another Ideas on Decided the Location
Before laying paving slabs on a slope, you should decide where the slope will be located. This is an important step as it will affect the drainage of the area and the stability of the paving slabs. Here are some steps you can follow:
- Survey the area: Check the area where you want to lay the paving slabs and identify any slopes or dips. This will help you determine the best location for the slope.
- Determine the direction of the slope: You want to make sure that the slope is going in a direction that allows for proper drainage. If the area is prone to flooding or standing water, you want to make sure the slope is away from any structures.
- Mark the slope location: Use a stake and string to mark the location of the slope. This will help you keep the slope even and straight.
- Measure the slope: Use a level and measuring tape to determine the slope’s degree and length. This will help you determine the amount of slope you will need to create to allow for proper drainage.
Once you have determined the location and degree of the slope, you can move on to preparing the area for paving slab installation.
Read also:
1. How to Build Steps on a Hill – Simple (DIY) Project
2. How to Build Steps with Pavers – Simple (DIY) Tutorial
3. Best House Materials To Build an Attractive Dream House
2. Get the ground ready
Cut through the grass and weed using a lawnmower. Once they are cleaned up, get rid of any obstacles such as rocks and roots, then rake until the surface is even and smooth.
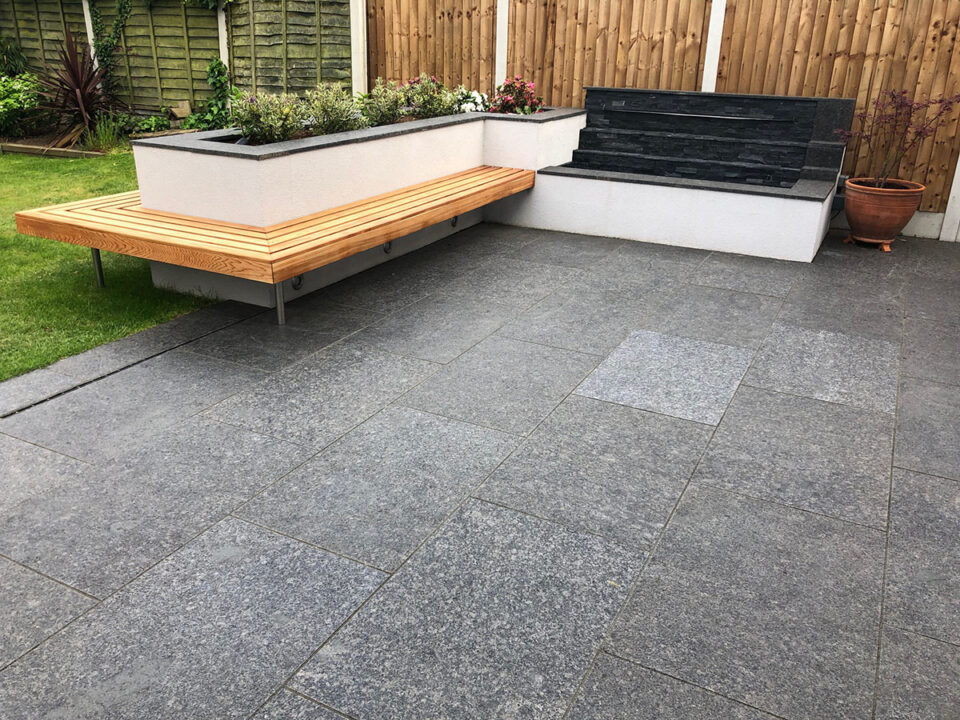
Read More: Simple Tutorial (DIY) How to Build Steps with Pavers
After deciding on the slope’s location, the next step is to prepare the ground for laying the paving slabs. Here are the steps to follow:
- Clear the area: Remove any grass, plants, or debris from the area. This will give you a clean surface to work with.
- Excavate the area: Use a shovel or excavator to dig out the area to the required depth. The depth will depend on the slope’s degree and the thickness of the paving slabs you plan to use. Generally, a depth of 4-6 inches is recommended.
- Create a level base: Use a rake and a spirit level to create a level base for the paving slabs. This is crucial for ensuring the stability and longevity of the paved surface.
- Add a layer of gravel: A layer of compacted gravel will help with drainage and prevent the paved surface from sinking or becoming uneven. Spread a layer of gravel on top of the leveled base and compact it using a compactor machine or by using a hand tamper.
- Install edge restraints: Install edge restraints around the perimeter of the paved area to hold the paving slabs in place. These can be made of concrete, plastic, or metal.
- Lay the paving slabs: Start laying the paving slabs from the lowest point of the slope and work upwards. Use a rubber mallet and a spirit level to ensure that each slab is level and flush with the adjacent slabs.
- Cut the slabs: You may need to cut some of the paving slabs to fit into any odd-shaped areas or around obstacles. Use a diamond blade saw to cut the slabs to the required size.
- Fill the gaps: Once all the slabs are in place, fill the gaps between them with fine sand. This will help to secure the slabs and prevent them from moving or shifting over time.
By following these steps, you can successfully lay paving slabs on a slope and create a stable, durable surface that will last for years to come (paving stones).
Read more:
1. 107 Wood Coffee Table Ideas: Modern Style & Timeless Appeal
2. Small Apartment Living: Stylish Scandinavian Coffee Table for Tiny Spaces
3. Live Edge Coffee Table: Natural Beauty for Your Living Room
3. Set a border – How to Lay Paving Slabs on a Slope
Install a border on the side of the area that you have chosen. You may use a stake to keep the border in place.
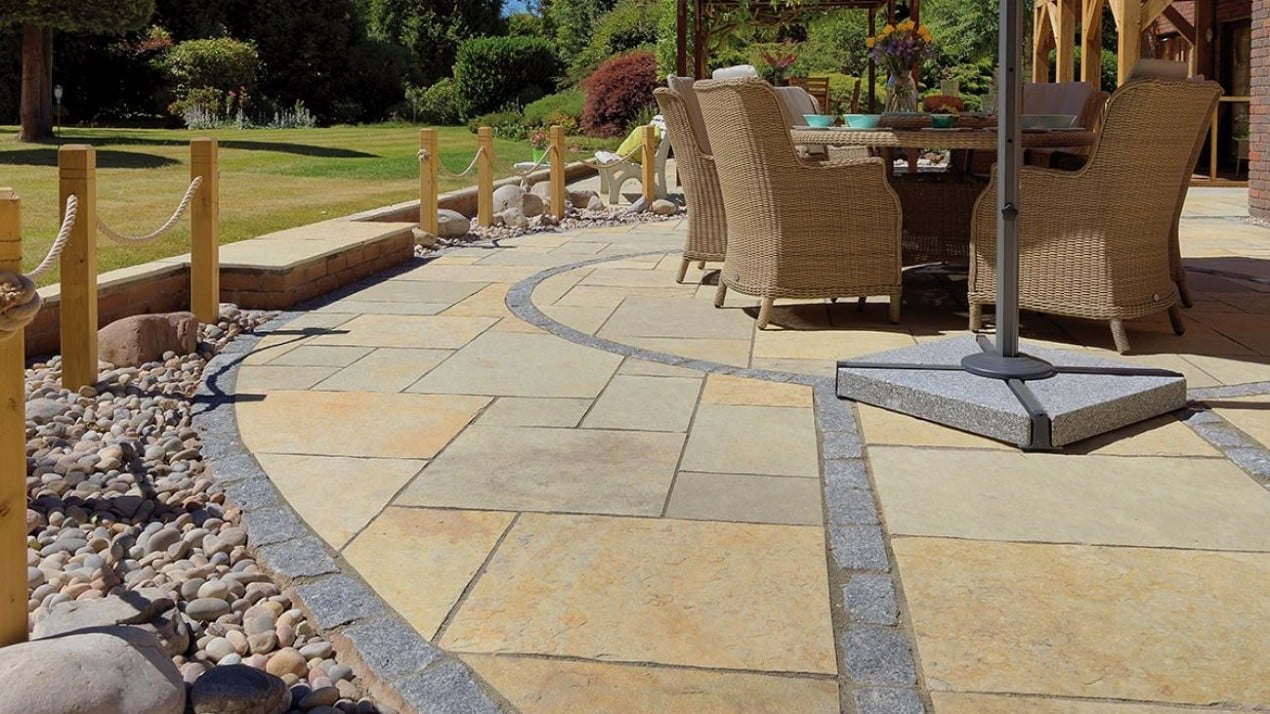
Setting a border is an important step in laying paving slabs on a slope as it helps to define the area and hold the slabs in place. Here are the steps to follow:
- Determine the border material: The border material can be concrete blocks, bricks, or even wooden sleepers. The choice of material will depend on your personal preference, the slope’s degree, and the overall design of the paved area.
- Mark the border: Use stakes and string to mark the border’s perimeter. Make sure the border is a few inches larger than the area you want to pave, as this will allow room for the edge restraints.
- Excavate the border area: Use a shovel to excavate the border area to the required depth. The depth will depend on the border material you choose and the slope’s degree.
- Create a level base: Use a rake and a spirit level to create a level base for the border material. This will ensure the border is stable and secure.
- Lay the border material: Start laying the border material from the lowest point of the slope and work upwards. Use a spirit level to ensure that each block or brick is level and flush with the adjacent ones.
- Secure the border material: Once all the border material is in place, secure it to the ground using concrete or adhesive. This will ensure it is stable and prevents it from shifting or moving over time.
- Install edge restraints: Install edge restraints around the perimeter of the paved area, attaching them to the border material. This will hold the paving slabs in place and prevent them from shifting or moving over time.
By following these steps, you can successfully set a border for your paved area and ensure that it is stable, durable, and will last for years to come, how to make rock garden?.
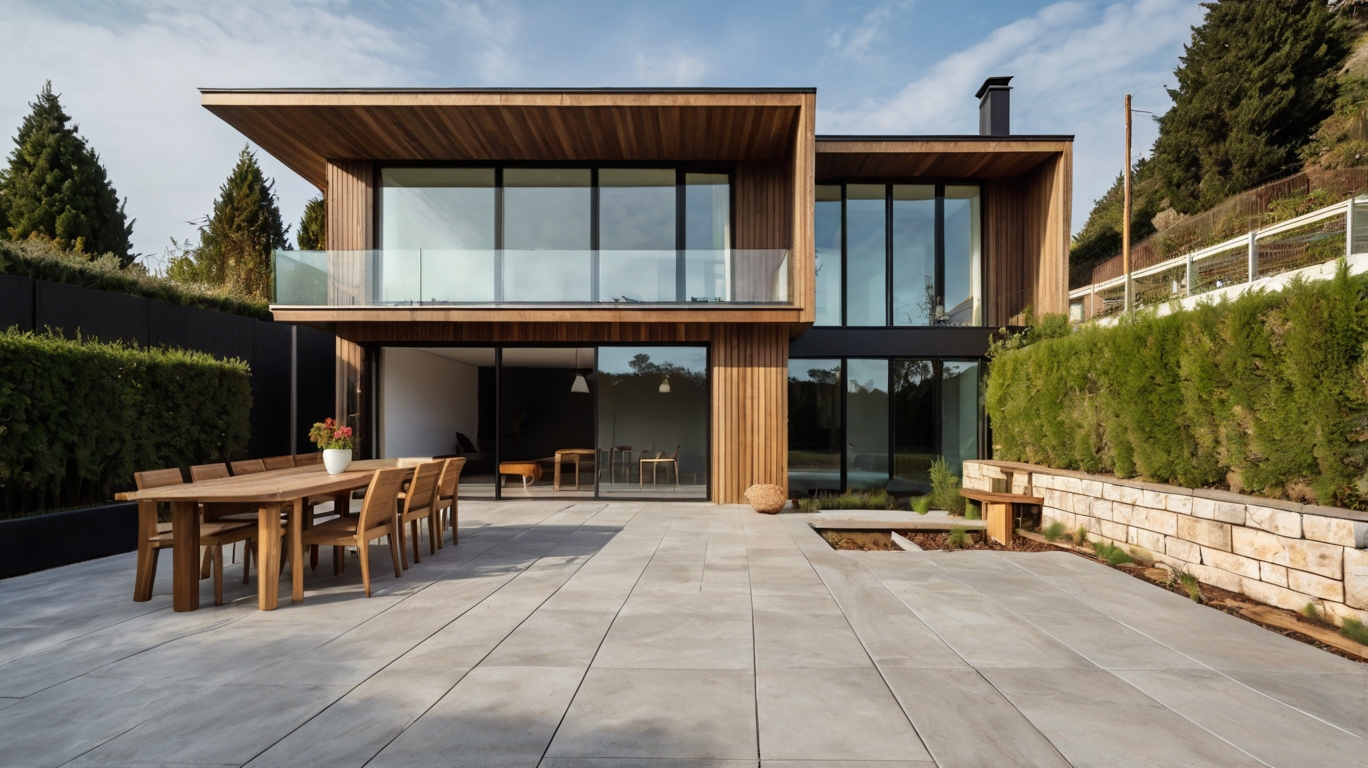
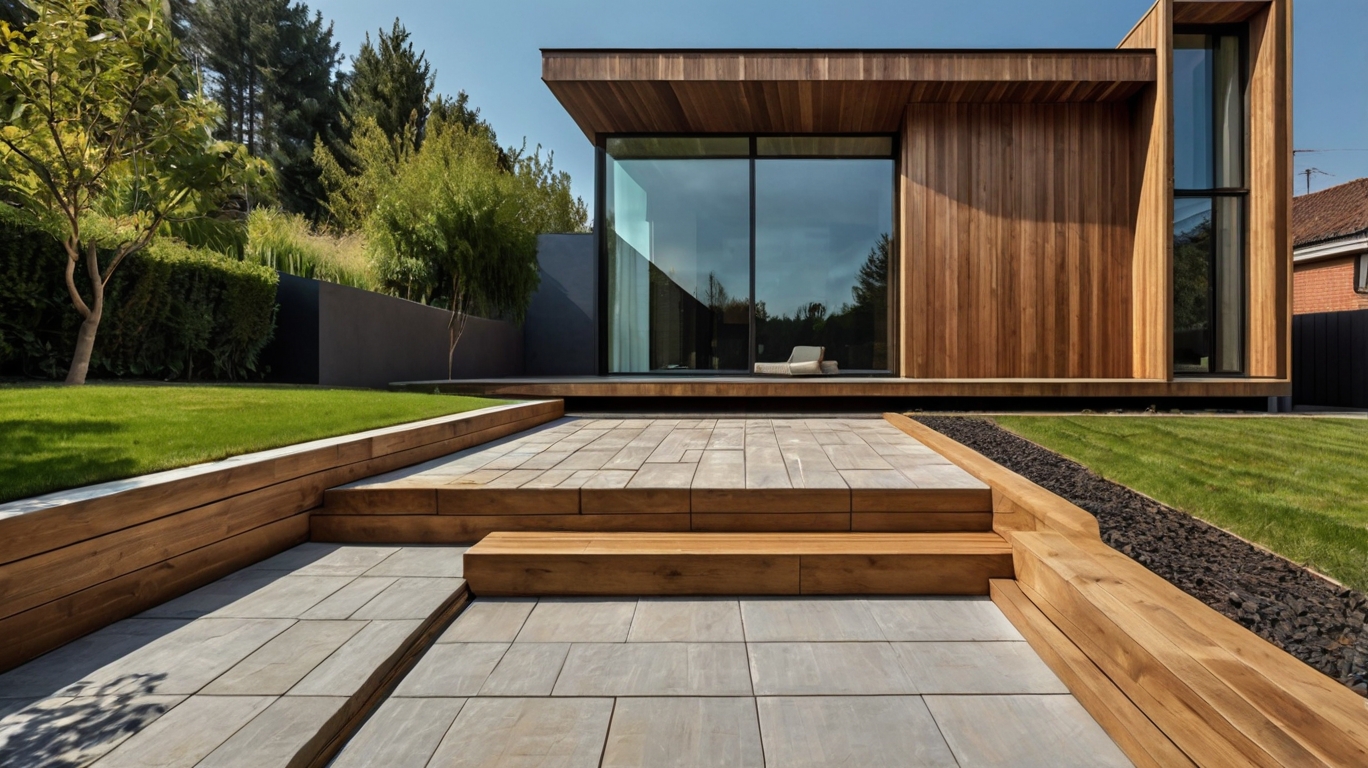
Inspiration of Minimalist House with Paving Slabs on a Slope


Read also:
1. Minimalist Coffee Table: Clean Lines, Modern Style
2. Industrial Coffee Table: Modern Edge for Your Living Room
3. Mid Century Coffee Table: Timeless Designs for Your Living Room
4. 27 Round Glass Coffee Tables for Small Spaces: Maximize Style & Function
4. Spread gravels over the surface
Create a layer of gravels or crushed rock on top of the ground, with the thickness around a couple of inches.

Spreading gravel over the surface is an important step in laying paving slabs on a slope, as it helps with drainage and prevents the paved surface from sinking or becoming uneven. Here are the steps to follow:
- Clear the surface: Ensure the surface is clear of any debris, dirt, or stones.
- Spread a layer of gravel: Spread a layer of compacted gravel over the entire surface to a depth of approximately 2 inches. Use a rake or a shovel to spread the gravel evenly across the surface.
- Compact the gravel: Use a compactor machine or a hand tamper to compact the gravel. This will ensure that the gravel is evenly distributed and tightly packed.
- Level the surface: Use a spirit level to ensure that the surface is level. This will help prevent any water from pooling on the surface and ensure that the paving slabs are laid evenly.
- Add more gravel if necessary: If the slope is particularly steep, you may need to add more gravel to the surface to ensure adequate drainage.
- Install the paving slabs: Start laying the paving slabs from the lowest point of the slope and work upwards. Use a rubber mallet and a spirit level to ensure that each slab is level and flush with the adjacent slabs.
- Fill the gaps: Once all the slabs are in place, fill the gaps between them with fine sand. This will help to secure the slabs and prevent them from moving or shifting over time.
By following these steps, you can successfully spread gravel over the surface and create a stable, durable surface that will last for years to come.
Read more:
- Natural Stone Patio – “The Best Outdoor Yard Ideas”
- Best 95 Front Yard Corner Lot Landscaping Ideas & Corner Garden Design
- 22 Best Natural Landscaping Ideas with Pavers – Inspira Building
- How to Build Steps with Pavers – Simple Tutorial (DIY)
Big box stores like Home Depot and Lowe’s are popular options across the USA for buying paving materials due to their:
- Wide Availability: They carry a vast selection of paving slabs, edging materials, base materials (gravel, sand), and tools for your project.
- Convenience: Having most supplies under one roof can save you time and effort.
5. Lay the pavers
The next step on how to lay paving slabs on a slope is to install the paver, starting from the areas with lower altitudes.
Start from the center to the side part.
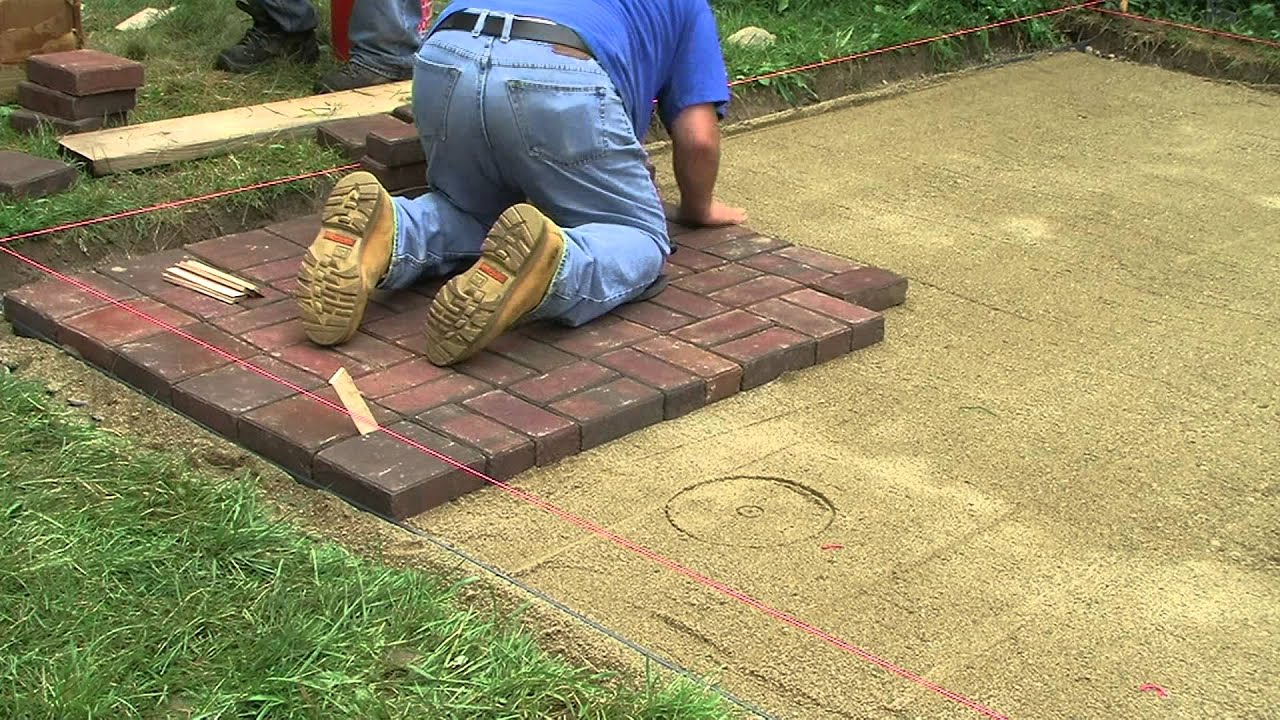
Once you have prepared the surface and set a border, the next step in laying paving slabs on a slope is to lay the pavers. Here are the steps to follow:
- Start at the bottom: Start laying the pavers at the bottom of the slope and work your way up. This will help prevent the pavers from shifting or moving downhill as you lay them.
- Apply a bed of sand: Spread a layer of sand over the compacted gravel, to a depth of about an inch. Use a rake to ensure that the sand is spread evenly.
- Level the sand: Use a screed or a straight edge to level the sand. Move the screed back and forth in a sawing motion, to create a smooth, level surface.
- Lay the pavers: Place the pavers onto the sand bed, starting at the bottom of the slope. Use a rubber mallet to gently tap each paver into place, making sure it is level and flush with the adjacent pavers.
- Cut the pavers: If you need to cut pavers to fit around the border or any other obstacles, use a masonry saw or a chisel and hammer to make the necessary cuts.
- Check the level: As you lay each row of pavers, check that they are level using a spirit level. Adjust the sand bed as needed to ensure that each paver is level and flush with the adjacent pavers.
- Fill the gaps: Once all the pavers are in place, fill the gaps between them with fine sand. Use a broom to sweep the sand into the gaps, and then use a compactor machine or a hand tamper to compact the sand.
By following these steps, you can successfully lay the pavers on the slope and create a beautiful, functional paved area that will last for years to come.
read also: How to Lay Patio Pavers on Dirt : Easy DIY Project at Home [Details]
6. Spread sand on top of the paving layer
To make sure that the paving slabs will stay in place, spread sand all over them and make it filled into the crevices and cracks.
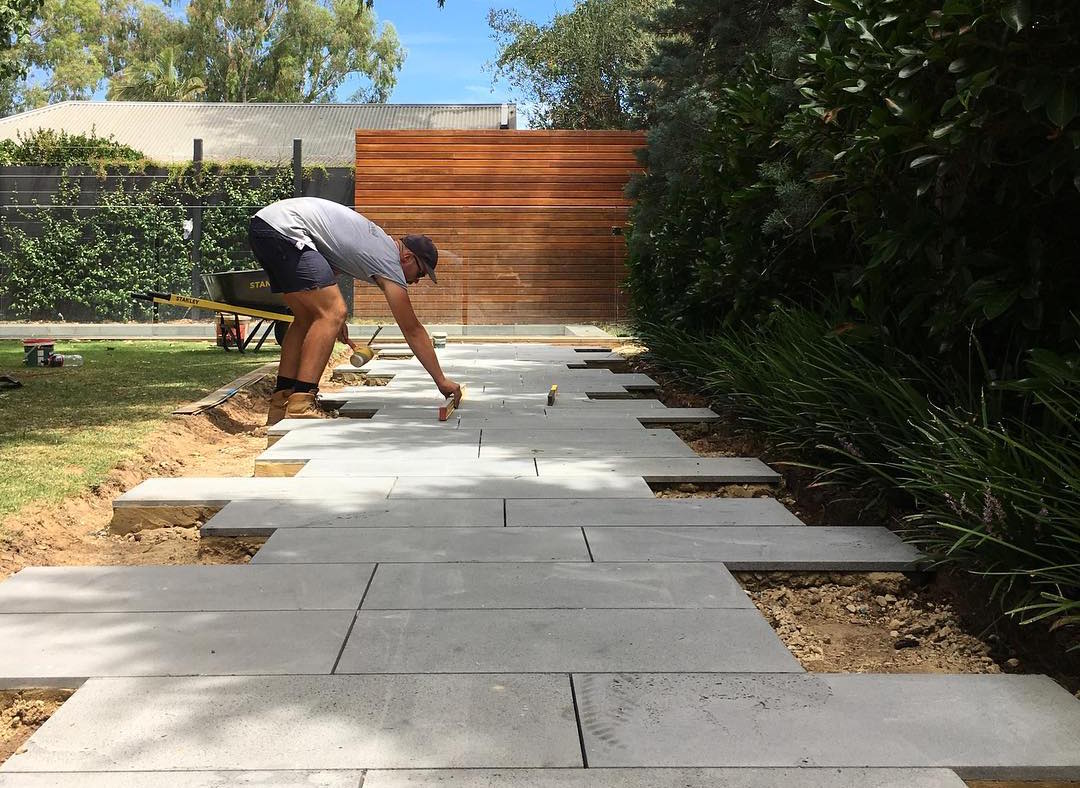
After you have laid the paving slabs on the slope, the next step is to [highlight color=”orange”]spread sand on top of the paving layer[/highlight]. Here are the steps to follow:
- Clean the surface: Before spreading sand, make sure that the surface is clean of any debris or dust.
- Spread a layer of sand: Spread a layer of fine sand over the surface of the paving layer, to a depth of about 1 cm.
- Brush the sand into the gaps: Use a broom or brush to sweep the sand into the gaps between the paving slabs. Make sure that the sand is spread evenly and fills all the gaps.
- Repeat the process: Repeat the process of spreading sand and brushing it into the gaps until all the gaps are completely filled.
- Compact the sand: Once all the gaps are filled with sand, use a compactor machine or a hand tamper to compact the sand. This will help to settle the sand and prevent it from shifting or washing away over time.
- Add more sand if necessary: If after compacting the sand, there are still gaps that need to be filled, add more sand and repeat the process of brushing and compacting until all the gaps are filled.
- Clean the surface:[ After you have finished spreading sand and compacting it, clean the surface of the paving layer by sweeping away any excess sand.
By following these steps, you can successfully spread sand on top of the paving layer and create a stable, durable surface that will last for years to come.
7. Clean away the excess dirt
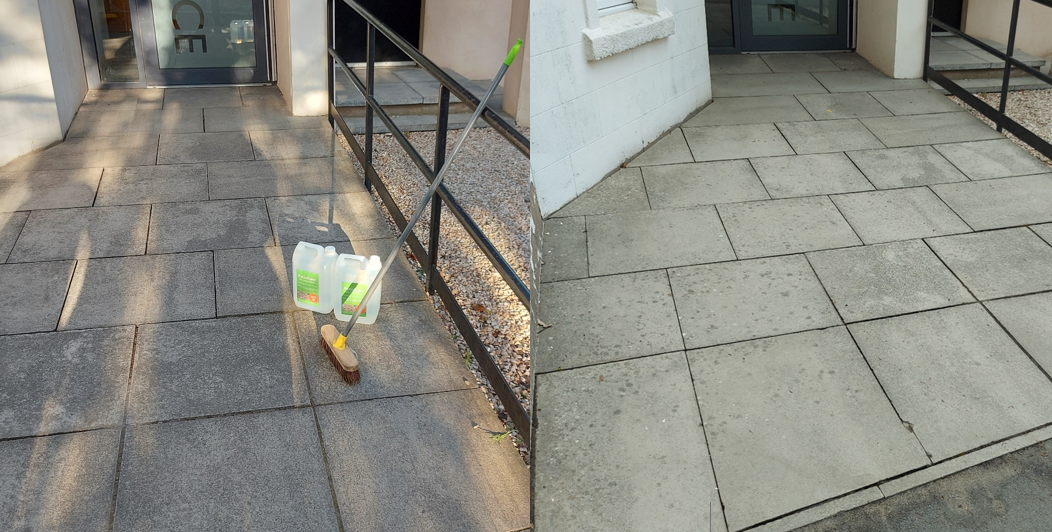
Once you’re done with laying the pavers, spray the walkway with a water hose to remove any dirt on top of it.
Read More: Arizona Backyard Ideas for Terrific and Excellent Backyard
As long as you know how to lay paving slabs on a slope correctly, it can be an amazing DIY project.
Paving slabs are easy to get, affordable, and quite simple to install yourself.
They are able to add new looks to your space.
After you have completed laying the paving slabs on a slope, spreading gravel, setting a border, and spreading sand on top of the paving layer, the final step is to clean away any excess dirt or debris. Here are the steps to follow:
- Remove any excess sand: Use a broom or a brush to remove any excess sand on the surface of the paving slabs.
- Clear the edges: Clear the edges of the paved area of any dirt or debris, using a shovel or a brush.
- Check for any loose pavers: Check to make sure that all the pavers are level and securely in place. If you find any loose pavers, remove them and add more sand to the base before resetting them.
- Sweep the surface: Sweep the surface of the paved area to remove any remaining dirt or debris.
- Hose down the surface: If necessary, use a hose to gently wash away any remaining dirt or debris. Make sure not to use too much water, as this can wash away the sand from the gaps between the pavers.
- Inspect the paved area: Finally, inspect the paved area to ensure that it is clean, level, and securely in place.
By following these steps, you can successfully clean away any excess dirt or debris from the paved area and ensure that it is safe, functional, and attractive.
source: https://www.youtube.com/watch?v=cyI-giTZtlI
In Conclusion,
Laying paving slabs on a slope can be a challenging task, but with the right tools, materials, and techniques, it can be done successfully.
The key steps to follow include preparing the surface, setting a border, spreading gravel, laying the pavers, spreading sand on top of the paving layer, and cleaning away any excess dirt or debris.
By following these steps carefully and ensuring that each stage is completed correctly, you can create a beautiful and functional paved area that will last for years to come. Remember to take your time, work carefully, and always prioritize safety when working on a slope.
Frequently Asked Questions (FAQs)
1. What’s the ideal slope for paving slabs?
2. How important is a good base for sloped paving slabs?
3. Do I need edging for paving slabs on a slope?
4. What kind of paving slabs are best for slopes?
5. Can I lay paving slabs on a slope myself?
Read more:
1. 55 Best Outdoor Coffee Table Ideas: Stylish & Durable Options for Your Patio
2. 57 Stunning Mid-Century Coffee Table Ideas to Transform Your Space
3. 48 Round Wood Coffee Table Ideas: Add Warmth & Style to Your Living Room
4. 58 Best Coffee Table With Storage Ideas | Maximize Space and Style
More Ideas About How to Lay Paving Slabs on a Slope – Simple (DIY) Tutorial for All Country Including USA, Europe, Australia, Asia, Middle East – Best Home Furniture.
Alabama, Alaska, Arizona, Arkansas, California Colorado Connecticut Delaware District of Columbia Florida Georgia Hawaii Idaho Illinois Indiana Iowa Kansas Kentucky Louisiana Maine Maryland Massachusetts Michigan Minnesota Mississippi Missouri Montana Nebraska Nevada New Hampshire New Jersey New Mexico New York North Carolina North Dakota Ohio Oklahoma Oregon Pennsylvania Rhode Island South Carolina South Dakota Tennessee Texas Utah Vermont Virginia Washington West Virginia Wisconsin Wyoming
British, Italia, Rusia, South Africa, Dubai, Saudi Arabia, Australia, Indonesia, Philippines, Malaysia, Singapura, Tokyo, Japan, Taiwan, South Korea.
Barbuda,Argentina,Armenia,Australia,Austria,Azerbaijan,The Bahamas,Bahrain,Bangladesh,Barbados,Belarus,Belgium,Belize,Benin,Bhutan,Bolivia,Bosnia and Herzegovina,Botswana,Brazil,Brunei,Bulgaria,Burkina Faso,Burundi,Cabo Verde,Cambodia,Cameroon,Canada,Central African Republic,Chad,Chile,China,Colombia,Comoros,Congo,Democratic Republic of the Congo,Republic of the Costa Rica,Côte d’Ivoire,Croatia,Cuba,Cyprus,Czech Republic,Denmark,Djibouti,Dominica,Dominican Republic,East Timor (Timor-Leste),Ecuador,Egypt,El Salvador,Equatorial Guinea,Eritrea,Estonia,Eswatini,Ethiopia,Fiji,Finland,France,Gabon,The Gambia,Georgia,Germany,Ghana,Greece,Grenada,Guatemala,Guinea,Guinea-Bissau,Guyana,Haiti,Honduras,Hungary,Iceland,India,Indonesia,Iran,Iraq,Ireland,Israel,Italy,Jamaica,Japan,Jordan,Kazakhstan,Kenya,Kiribati,Korea North,Korea South,Kosovo,Kuwait,Kyrgyzstan,Laos,Latvia,Lebanon,Lesotho,Liberia,
Libya,Liechtenstein,Lithuania,Luxembourg,Madagascar,Malawi,Malaysia,Maldives,Mali,Malta,Marshall Islands,
Mauritania,Mauritius,Mexico,Micronesia Federated States of Moldova,Monaco,Mongolia,Montenegro,Morocco,
Mozambique,Myanmar (Burma),Namibia,Nauru,Nepal,Netherlands,New Zealand,Nicaragua,Niger,Nigeria,North Macedonia,Norway,Oman,Pakistan,Palau,Panama,Papua New Guinea,Paraguay,Peru,Philippines,Poland,Portugal,Qatar,Romania,Russia,Rwanda,Saint Kitts and Nevis,Saint Lucia,Saint Vincent and the Grenadines,Samoa,San Marino,Sao Tome and Principe,Saudi Arabia,
Senegal,Serbia,Seychelles,Sierra Leone,Singapore,Slovakia,Slovenia,Solomon Islands,Somalia,South Africa,Spain,Sri Lanka,Sudan,Sudan South,Suriname,Sweden,Switzerland,Syria,Taiwan,Tajikistan,Tanzania,Thailand,Togo,Tonga,Trinidad and Tobago,Tunisia,Turkey,Turkmenistan,Tuvalu,Uganda,Ukraine,United Arab Emirates,United Kingdom,United States,Uruguay,Uzbekistan,Vanuatu,Vatican City,Venezuela,Vietnam,Yemen,Zambia,Zimbabwe,
Alabama, Alaska, Arizona, Arkansas, California, Colorado, Connecticut,
Delaware, Florida, Georgia, Hawaii, Idaho, Illinois, Indiana, Iowa, Kansas, Kentucky, Louisiana, Maine, Maryland, Massachusetts, Michigan, Minnesota, Mississippi, Missouri, Montana, Nebraska, Nevada, New Hampshire, New Jersey, New Mexico, New York, North Carolina, North Dakota, Ohio, Oklahoma, Oregon, Pennsylvania, Rhode Island, South Carolina, South Dakota, Tennessee, Texas, Utah, Vermont, Virginia, Washington, West Virginia, Wisconsin, Wyoming,
