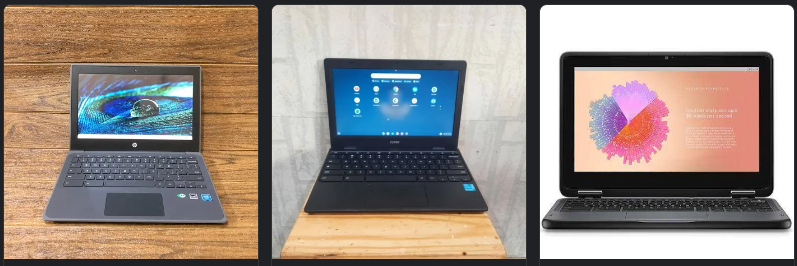
Taking screenshots on a Chromebook is a straightforward task, but if your device lacks a Windows key, it might seem a bit confusing.
Chromebooks use a different keyboard layout compared to traditional Windows laptops, so knowing the correct key combinations is essential.
Here’s a step-by-step guide on how to screenshot on a Chromebook without needing a Windows key.
1. Using the Show Windows Key
Chromebooks replace the Windows key with a key specifically designed for managing windows and multitasking.
This key, known as the “Show Windows” key, is typically found on the top row of the keyboard and looks like a rectangle with two vertical lines on the right side. Here’s how you can use it to take a screenshot:
- Full-Screen Screenshot:
- Press the Ctrl key and the Show Windows key simultaneously.
- The screen will dim briefly, and a notification will appear, confirming that a screenshot has been taken.
- The screenshot will be saved in the “Downloads” folder by default.
- Partial Screenshot:
- Press Ctrl + Shift + Show Windows.
- The screen will darken, and your cursor will change to a crosshair.
- Click and drag the crosshair to select the area of the screen you want to capture.
- Release the mouse button to take the screenshot, which will also be saved in the “Downloads” folder.
2. Using External Keyboards
If you’re using an external keyboard with your Chromebook that lacks a dedicated “Show Windows” key (like some generic USB keyboards), you can use an alternative method:
- Full-Screen Screenshot:
- Press Ctrl + F5.
- This will perform the same function as the “Show Windows” key on a Chromebook.
- Partial Screenshot:
- Press Ctrl + Shift + F5.
- You can then select the area of the screen you want to capture, just as with the internal Chromebook keyboard.
Also read:
1. 7 Best Budget-Friendly Windows Laptop – Tech & Tips | Inspirabuilding
2. 7 Best Asus Laptop on a Budget – Tech & Tips | Inspirabuilding
3. 7 Best HP Laptop on a Budget for Students – Tech Tips | InspiraBuilding
3. Using Chrome Extensions
If you frequently need to take screenshots and want more advanced features, consider using a Chrome extension:
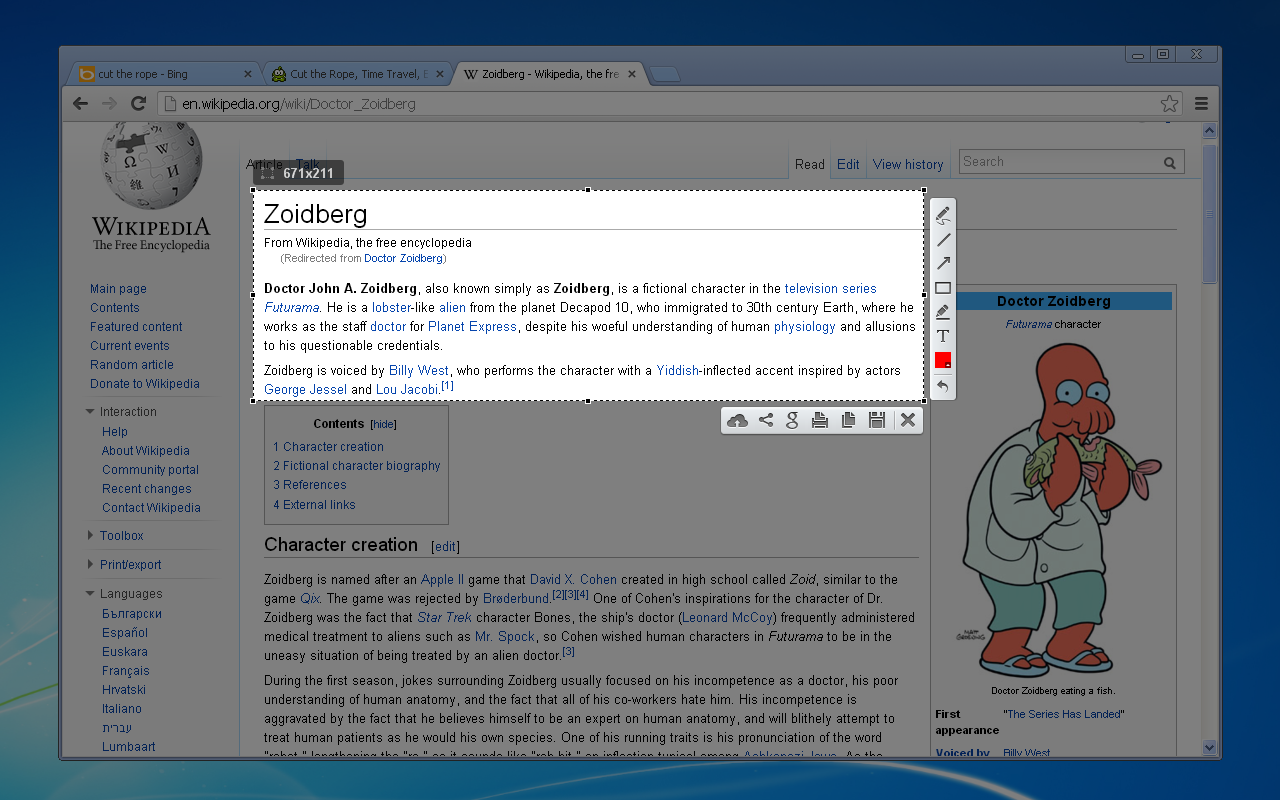
a. Lightshot: This is a popular screenshot tool that allows you to select any area of the screen and take a screenshot. It also offers editing tools and easy sharing options.
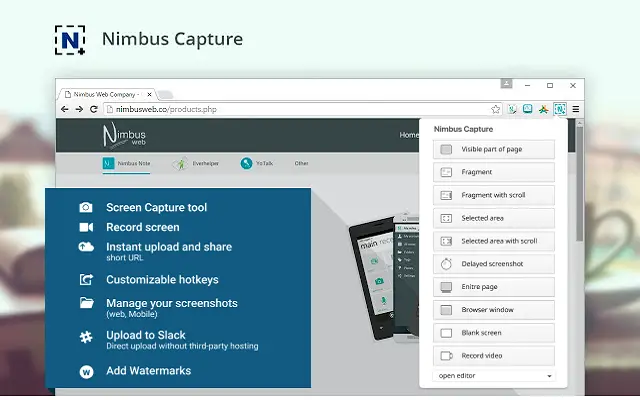
b. Nimbus Screenshot & Screen Video Recorder: This extension provides more comprehensive features, including the ability to take full-page screenshots, annotate images, and even record your screen.
These extensions can be added from the Chrome Web Store and accessed directly from your browser for quick and easy screenshots.
4. Accessing and Managing Screenshots
Once you’ve taken a screenshot, you can find it in the Downloads folder on your Chromebook:
- Access: Open the Files app from your launcher, then navigate to the “Downloads” folder. Your screenshots will be saved here with the filename format “Screenshot [date] at [time].png.”
- Editing: You can open the screenshot with the built-in image editor by double-clicking on the file. This editor allows you to crop, rotate, and make other basic adjustments.
- Sharing: To share your screenshot, you can drag and drop the file into an email, upload it to cloud storage, or share it via Google Drive.
5. Using Google Assistant
If your Chromebook supports Google Assistant, you can use voice commands to take a screenshot:
- Say, “Hey Google, take a screenshot,” and Assistant will capture the screen for you.
This hands-free option is convenient for users who prefer using voice commands over keyboard shortcuts.
Conclusion
Taking a screenshot on a Chromebook without a Windows key is easy once you know the right shortcuts.
Whether using the “Show Windows” key, an external keyboard, or a Chrome extension, you have multiple options to capture your screen.
Managing and sharing these screenshots is also straightforward, making it simple to document or share your work on a Chromebook.


