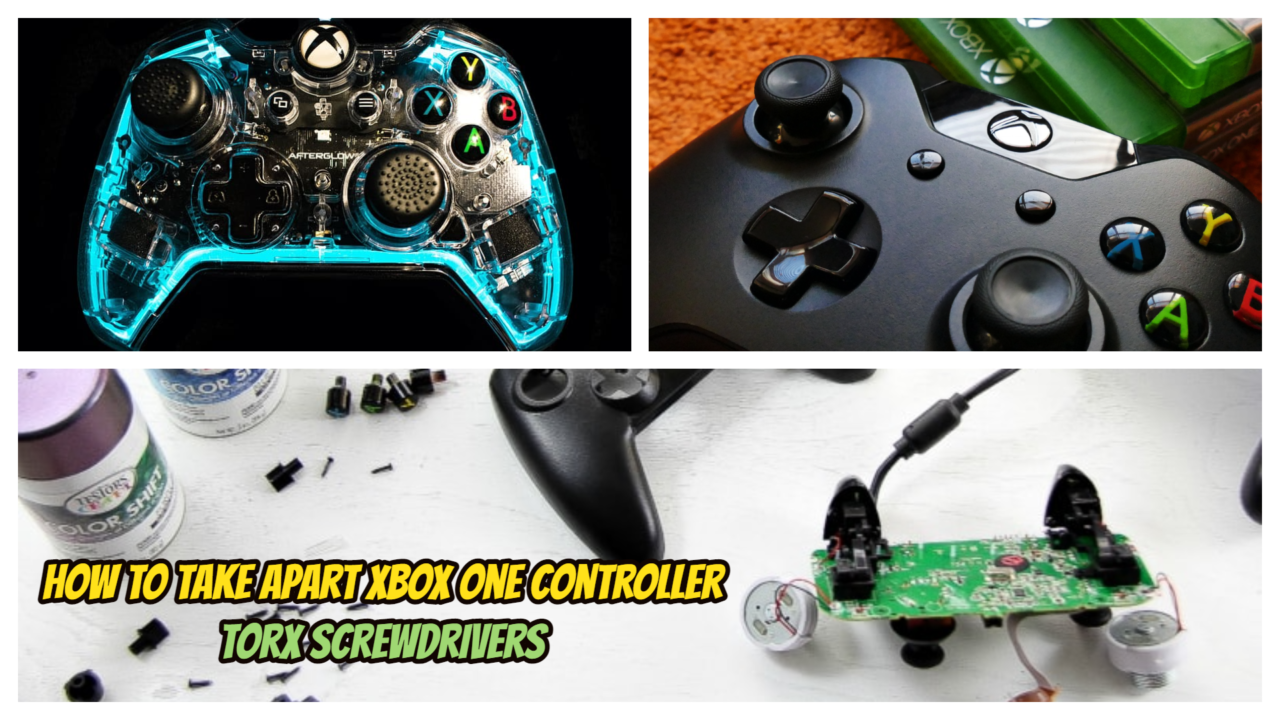
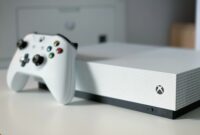
How to Take Apart an Xbox One Controller / xbox one controller disassembly – Just like other devices that have ever existed, your Xbox controller may experience troubles at some points. The joystick might be stuck or the d-pad might get disordered.
In these cases, there’s a chance that you will need to disassemble it in order to fix the item. If you want to know how to take apart an Xbox One controller in easy and quick way, read the following guide.
How to Take Apart an Xbox One Controller Correctly
The best tool options to go with when you’re about to disassemble the Xbox One Controller is by using Torx screwdrivers.
They are quite easy to use even for beginners. You will need T6 and T8 screwdrivers then follow the steps below.
Xbox one controller disassembly
- Open the battery cover and lift off the batteries from controller.
- Lift its side handles off by holding the controller solidly then mount a spudger in the narrow space between the handle and front plates.
- Take the plates at the sides off from the plate at the front by wedging the spudger backward and forward. This step must be done on all the edge of side plate.
- Locate a hidden screw that placed behind controller’s label at the center part. Poke a hole by using the screwdriver right in the middle of its If you don’t want to make a hold in the label, simply remove it off.
- Use the T8 screwdriver to release all five of 10-mm bolts that placed at the rear part of your controller.
- Lift the front plate and back plate.
- Hold down the wires with black and red colors at the upper motherboard and detach the welded joints, then detach the attached black and gray wires at the upper motherboard.
- Lift off the rumble motors and put them away.
- Use T6 screwdriver to take out all the two 7mm bolts that placed around the rumble motors.
- Hold the sides of the controller’s motherboard solidly. Lift off the motherboard by wiggling it forward and backward carefully.
- After the motherboard has been lifted off, release the six screws underneath it using T6 screwdriver.
- Lift off the bumpers by using spudger to release them from securing pegs. The bumpers are placed both on the front side and back side. For this step, it is advised to use nylon spudger because the metal ones may carry the risk to harm your Xbox One controller.
- Remove the piece that enclosing Home button. Remove it by using spudger from the pegs from both sides.
- Release the lower motherboard and then the rubbers that support controller’s buttons.
- Remove buttons from their frame by having them face downward and pushing them.
read more:
- How To Connect Xbox 360 Controller To PC | InspiraGame
- How to Sync Xbox 360 Controller with Various Devices
- How to Appear Offline on Xbox One in Two Different Ways

Another Method Controller Disassembly
Taking apart an Xbox One controller requires some caution and precision. Here’s a step-by-step guide to help you disassemble it:
- Gather the necessary tools: You’ll need a small Phillips-head screwdriver and a plastic prying tool or a flathead screwdriver with a thin tip.
- Power off the controller: Make sure your Xbox One controller is turned off before starting the disassembly process.
- Remove the batteries: Take out any batteries or rechargeable packs from the controller.
- Remove the back cover: Turn the controller upside down, and locate the small screw at the center of the battery compartment. Unscrew it using the Phillips-head screwdriver. Once the screw is removed, gently pry the back cover off using the prying tool or flathead screwdriver. Start from the top or bottom edge and work your way around, releasing the plastic clips that hold the cover in place.
- Remove the triggers and bumpers: Inside the controller, you’ll find the triggers and bumpers connected to the main circuit board. Carefully lift them out of their slots, but be cautious not to damage any wires connected to them.
- Remove the front cover: With the back cover removed, you can now see the front cover with the buttons and analog sticks. Begin by removing the screws on the backside of the controller. There are usually several screws located at the four corners and sometimes under labels. Unscrew them all using the Phillips-head screwdriver.
- Separate the front and back shells: Once all the screws are removed, gently pry open the front and back shells using the prying tool. Start from one side and slowly work your way around, releasing the plastic clips that secure the shells together. Be careful not to force it and avoid damaging any internal components.
- Disconnect the ribbon cable: Inside the controller, you’ll find a ribbon cable connecting the front shell to the circuit board. Carefully disconnect it by gently pulling up the small tab that locks it in place. Once unlocked, the ribbon cable can be easily removed.
- Access the circuit board and other components: With the front and back shells separated, you’ll have access to the circuit board, buttons, analog sticks, and other internal components. If you need to replace or repair any specific parts, now is the time to do so.
- Reassemble the controller: Once you’ve completed the necessary repairs or modifications, reverse the steps to reassemble the controller. Connect the ribbon cable back into place, align the front and back shells, and snap them together. Insert and tighten the screws, ensuring they are secure but not overly tight. Finally, attach the triggers, bumpers, and back cover, and screw in the central screw to hold it all in place.
Remember, disassembling your Xbox One controller may void any warranties, so proceed at your own risk. Take your time, be gentle, and avoid using excessive force to prevent damage to the controller.
Xbox one controller disassembly – Disassembling an Xbox One controller can be said to be a work that’s not too complicated. However, still there are some risks that you need to be careful of.
If you want to assemble back the device, simply use the instructions on how to take apart an Xbox One controller in reverse order.
Read more:
